How to Make Groovy Tie-Dye Clothing With Your Kids
Posted by Alexander C. on 7th Nov 2022
Kids are always looking for new and interesting ways to express their creativity. Arts and crafts tend to revolve around things you can make and display on the fridge or up on the mantel, so why not try something different and make something they can wear! Tie-dye is a classic project that can have some incredible results and can be repeated over and over for different designs every time.
If a tie-dye project is something you’d like to try your hand at, there are some basic supplies you will need to gather before you get started.
What Are You Tie-Dyeing?
Before you can begin, you need to know what your canvas is going to be. You can buy something new or give new life to something old, whether it’s a T-shirt from the back of their closet or an interesting jacket from the thrift store. Shirts, coats, pants, or socks are all well suited for tie-dyeing, but a T-shirt will certainly be the easiest to set up due to its size and relative flexibility; the more folds, the more intricate design.

https://www.pexels.com/photo/both-hands-stained-with-paints-1161542/
Choose Your Colors and Gather Supplies
Kids can be enthralled with an activity the first time they try it but quickly get bored once the novelty wears off. Considering that, you can find inexpensive, ready-made tie-dye kits that will have all the necessary instructions and dyes packaged with them in small quantities. If you’re able to use up the whole pack then the project was popular enough to make it worth purchasing some Rit dye and making this a regular activity.
If you really want to do this without needing to go out for supplies, consider a bleach-dye; it’s the same process, you’re just bleaching the color out of a shirt rather than introducing new colors. You’ll want to increase the safety factor from “keeping their hands undyed” to “being safe with chemicals.”
For either case, you’ll need:
- An outdoor workspace
- A table to work on
- Plastic table cover
- Rubber or nitrile gloves
- Paper towels
- Rubber bands
- Spray bottle
- Condiment bottle or similar bottle to apply dye
- Dye or bleach
- Clothing of choice
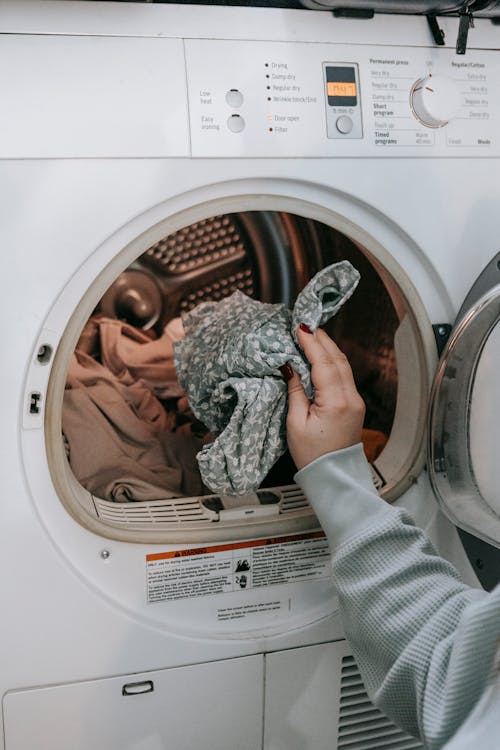
Step 1: Prepare the clothing
Run the clothing through the wash first to remove a substance called “sizing” that’s on new clothes to protect their colors before purchase. Even if it’s an old, but clean, shirt, wash it with soap and without fabric softener to make the fabric readily absorb dye. Once it’s washed you have a choice: do you dye the clothing when it’s damp or when it’s dry? Each will create a different effect during the dyeing process; dry fabric will prevent colors from flowing further from where it’s applied, while damp clothes will run and have blended edges.
Step 2: Tie the Clothing
What makes tie-dyeing so fun is that the complexity of the design is entirely down to how intricate you tie the clothing together. “Shibori” is the Japanese name for tie-dyeing in a very deliberate and complex manner by tying, knotting, and wrapping the fabric to create incredible patterns. You don’t need to go that far with your kids and can instead simply bundle up your clothing and use rubber bands to hold it in place.
For example, take a shirt and pinch the center where you want the tie-dye to spiral out from and twist it until you can roll the shirt up, then use the rubber bands to keep it tight. Or you can grab a sleeve and hang it, twist it up, fold it, knot it into really small sections and tie it down with rubber bands. There’s really no wrong way to do it!
Step 3: Prepare the Workspace
As hard as you might try there’s a real possibility that dye or bleach will get somewhere you don’t want it. Working outside on a table with a plastic cover you can easily throw away is the winning strategy here, along with wearing clothes you can come back to later as “messy clothes” or “crafts clothes.” Gloves are great to keep everyone’s hands from turning blue and goggles are recommended if you are going to be working with bleach in a spray bottle (that mist will get further than you think).
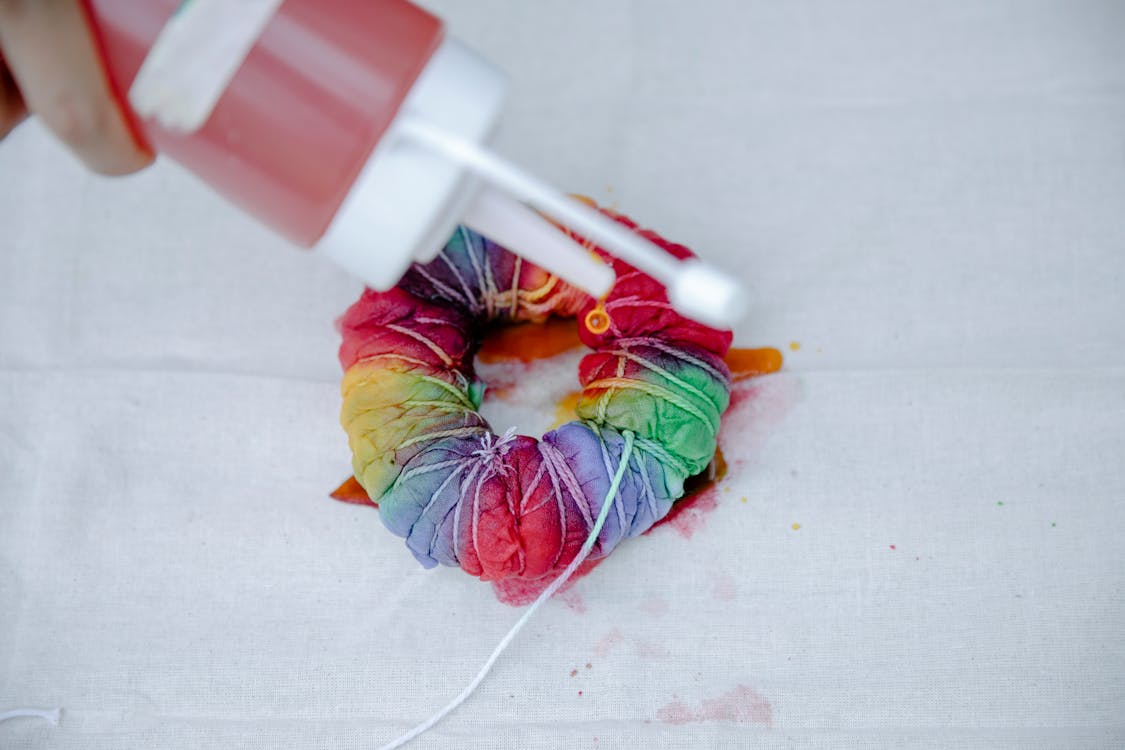
Step 4: Start Dyeing
Take the spray bottle or squirt bottle and begin applying the colors to different sections of the clothing and get wild with it. Experiment with creating different textures to the pattern by spraying dye on or getting some fine gravel wet with dye and rolling them across the clothing.
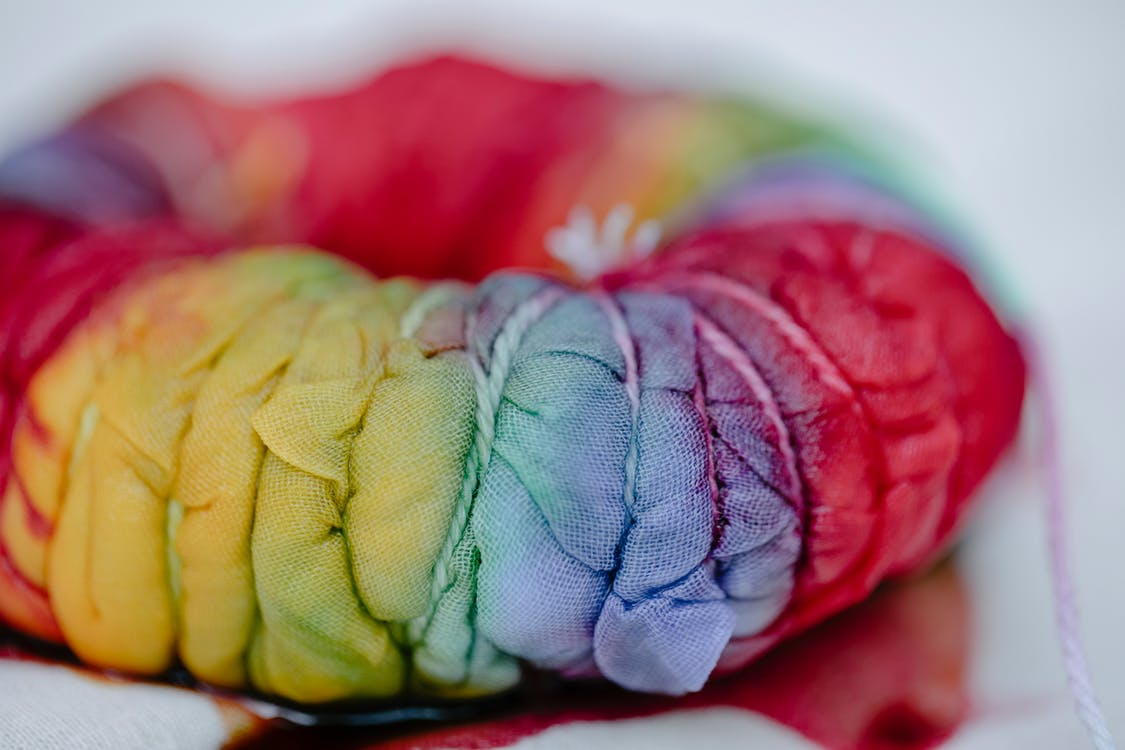
Step 5: Lock in the Color
Once you and your kids are satisfied with the tie-dyed clothing, wrap it in plastic wrap for however long you desire (a couple hours or days) to allow the color to thoroughly soak into the fabric’s fibers. After that time has passed, throw everything into the washer still knotted up, wash only the freshly tie-dyed clothes, and set it to use cold water. After that cycle finishes, take out the rubber band and knots and wash it again to allow the full garment to rinse out any excess dye that may have been trapped in the folds.
Care Instructions
You may find that the color can still run for several more wash cycles depending on the type of dye you used. For a short time, wash your tie-dyed clothes altogether to prevent turning the entire load of laundry pink and blue. It’s up to you whether to always wash them together or throw them in with the regulars or delicates.
Making tie-dye clothing is a fun and engaging way to spend an afternoon. Every time you see your kids wearing their finished product you’ll be reminded of the time you spent together making it and how much fun they had. Starting this project may even inspire a hobby and get them interested in trying more advanced tying techniques to create their own fantastic patterns. Good luck!